Tuesday, February 17, 2015

Sneak Peek (Co-Creations Exhibition)

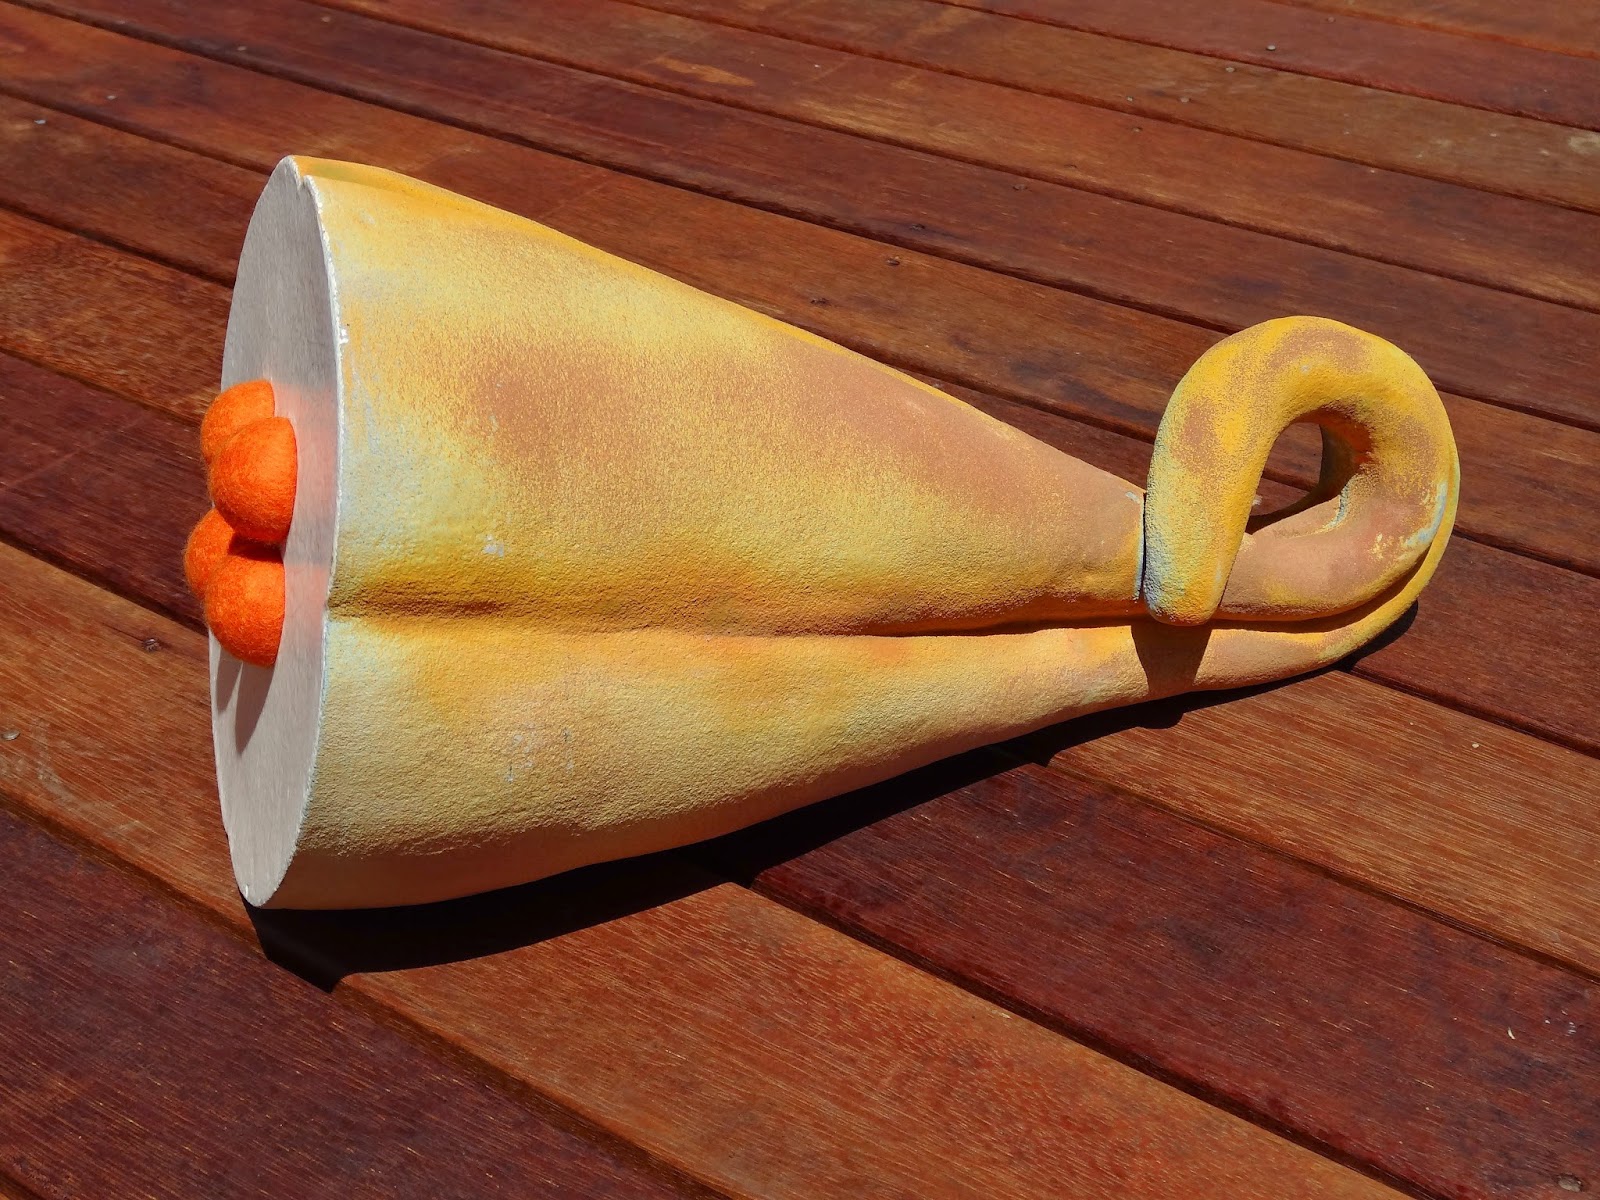
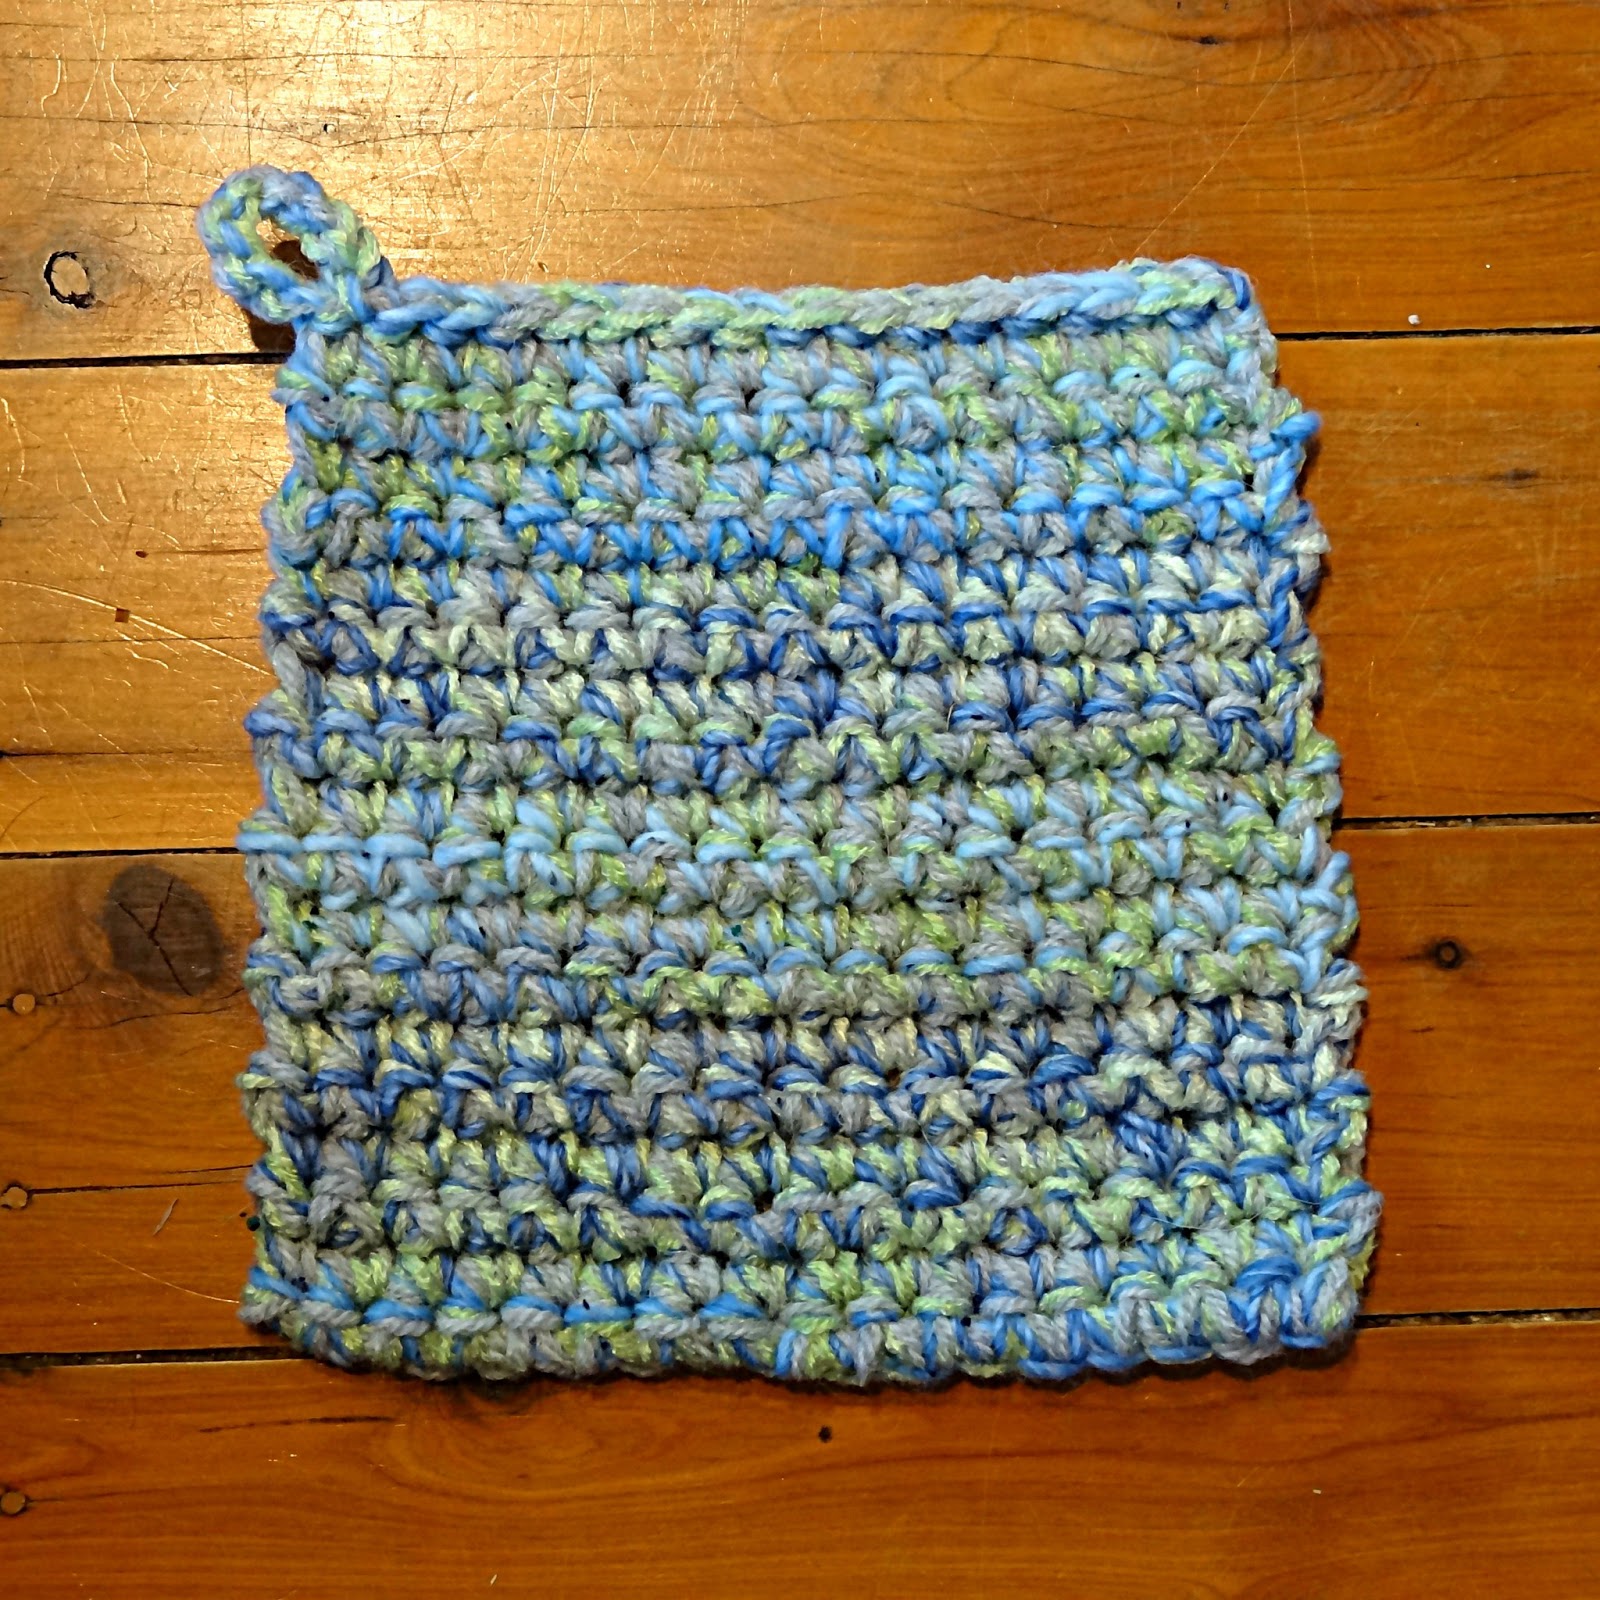
I can't show you everything here before the opening, so is just a little sneak peak. Ceramics by Valerie Stuart, and felting by me. We both like this, and there will be more experimenting to come with this idea!
 

We need a name though...

Monday, February 16, 2015

Renewal 3

My part was very minimal in this one - not much felting at all! You can't cover these beautiful colours! I think pictures say it all:


Tuesday, February 10, 2015

Stitch-O-Coccus

After lots of experimenting with crochet stitches, machine (free hand) stitching, and dissolvable interfacing, I have come up with this. (Also to be part of the "Co-Creations" exhibition coming up next week.) I think its a bit growth like, a bit like bacteria - hence the name "Stitch-o-coccus". I did some research on bacteria names and found the 3 most common types are: spherical (-cocuss), rod shaped (bacillus), and spiral (spirilla). These have been mounted and framed.
 
STITCH-O-COCCUS (cotton & sewing thread)


Felt & ceramic sculpture

Another item for our "co-creations" exhibition coming up (21st Feb, 2015) is this:


The ceramic centre was hand built by Valerie Stuart. A wire was then attached to the end, which can be manipulated to easily. And then felted over. It is tricky to calculate the correct shrinkage items like this. If you start too big you will never get a good fit, but if you start too small then you will never get a good felt. Another consideration for the felter is that some of your favourite fulling techniques can't be used - a good solid throwing of your felt obviously can't be done when there is a ceramic piece inside!

3D felting - over a ceramic vase


Valerie Stuart (ceramics) & Elanya Selby (felt)
Felted Ceramic Vases - Co-Creations
So this is the start of "Co-Creations" - combined mediums, two artists working together. My felting and textiles, my mums ceramics. It's the start of a beautiful relationship!

I have been very busy felting lately. I did a course on felting over 3D objects way back in Easter 2014, and I'm really putting that to the test now. My mum had some ceramic vases she made a while ago, and was getting tired of them, so we decided to try and felt over them, see what I could come up with. The above is the finished product, below are the pictures of the process. The wool I'm using is called a "ready spin", from Bendigo Mills - I know that doesn't say much! It is quite a course wool, and with my limited experience and knowledge on the many different wools, I would equate it to something like a corriedale.


3D felting
The vase to be felted over
For size comparison - the wool is laid out and wet down


Design and prefelt stage

During the felting stage

The start of fitting the felt perfectly to the vase

Sunday, September 14, 2014

I Mater cake!!


It was my nephews birthday party today, and I heard he wanted a Tow Mater cake - so last night I made one for him. My research starter really bad - my skill levels are no-where near a 3D, fondant covered, accurate model of a tow truck! And I couldn't seem to find any 'flat' cakes. But I did find this mater cookie on pinterest that I used as my inspiration:
Tow Mater Cookie

I'm pretty happy with my first solo cake! So here are my steps (photos only) for anyone else who wants to copy.

I used a double quantity of a 'standard' cake size, and cooked it in my Chefs Toolbox Saute Pan which has a 28cm diameter.

Made a template, and 'stuck' it to the cake with toothpicks. I changed the shape a little so I didn't waste too much cake - there was hardly any left over/wasted.

Cut out the cake. (Ate some of the off cuts, lucky I left some though - notice something missing?):

Iced it with butter cream (chocolate), mixed a small amount of the chocolate icing with a bit of blue colouring gel and used that for rust/dirt:

Used fondant (from Aldi) for most of the details. The tyres were covered in black, some outlining and the mouth in black, and then the eyes/windshield and teeth in white. It looked like something was missing, so I added the wing mirrors, and some chocolate fingers for more detail.

Glad this wasn't a pinfail!
It was a hit at the party. I'm racking up those 'best aunty' points!!

Tuesday, August 19, 2014

Eye Piece - Steampunk Accessory

Of Course if you are going steampunk, then you need a few accessories. Here is my first:
monocle, mechanical, victorian, leftleg, gears
I used a part of a lense for the base of the eye piece - it still spins around. One of the gears is mounted on the inside ring, so it moves around. The gears and 'things' are from the inside of an old clock that I pulled apart a while ago. The (fake) leather pieces were from a belt. And the fancy fasteners on the side (a bit like a hook and eye) were the only things bought (although not for this, I got them because I liked them and thought they were a bit 'steampunky'!). Elastic cord is threaded through the ends of the fasteners.
Outfit is starting to come together, just a few more accessories to go!

Steampunk cage skirt

Still on the Steampunk theme...
Felt like making a cage skirt - so here it is:

goth, black, boned skirt, victorian, cosplay, leftleg
goth, black, victorian, boned skirt, cosplay, leftleg

I've gone the 'grungy' look - leaving raw edges and long threads. I didn't have any bias tape on hand, but had a heap of straight cut tape, which I folded in half and sewed (zigzag) down the side (hence the raw edges). I inserted a double layer of boning (just the poly boning, sew-in type) - I was worried that just one layer would not be strong enough to hold the structure. Bottom 3 rows are all the same size, top row a bit smaller. I finished the top edges with a loop - here I have inserted a belt, but you could use elastic and stitch the loops in place.

Tuesday, August 5, 2014

Purple Tulle Bustle skirt/pad - Steampunk instructions / tutorial

So I'm really keen on making a steampunk outfit. I love the Victorian look, and have made a corset (more about that later). But for my first steampunk post, here is my purple tulle bustle skirt / bustle pad.
victorian, bustle pad, leftleg, cosplayvictorian, bustle pad, leftleg, cosplay

And a photo to show what it will look like under a corset:

victorian, bustle pad, leftleg, cosplay, tutorial, instructions, diy

I made this to go under another bustle skirt to give it some extra poof at the back. But also looks quite good by itself. Also looks pretty good for a small kids skirt too!


DETAILS:
There are 5 layers of tulle. Each one about 36-40" long, either gathered or pleated down to onto a waist band about 14" long. I would recommend big pleats - easier to do than gathering (less steps) - and do rough gathers, don't bother measuring, just go by eye. Maybe pleat one layer one way, the next layer the oppposite way, and repeat. (If I do another I will do it that way.)
The layers are 14", 12", 10", 8" and 6" wide (bottom to top), with the bottom corners cut on a smooth curve.
To make up, add tape over bottom edge to all layers first (could use lace instead). I used some fabric strip I picked up somewhere very cheaply, it wasn't cut on the bias, so it didn't go around the curves perfectly. But we are after the effect here (and I wanted cheap too), so you would never know if I didn't tell you, unless you looked really closely!
Then gather / pleat the layers, one by one, onto a strip that is about 15" wide. I found it easier to pin the first 3 layers and stitch these down. Then pin the next two layers and stitch again.
Add this onto a tape/band for the waist. I have added it onto a long strip so I can tie it at the front. But you could make a waist band that is the right size for you and add to that. When stitching the band on sandwich the tulle between the waist band and the original 15" strip. This gives a neater finish (and less scratchy if it happens to be against your skin).

And here's a pdf summary of the instructions for you to make your own! INSTRUCTIONS HERE

Tuesday, July 29, 2014

Some art works for the wall - in yarn!

It's been a long time since I've posted anything on my blog. So here I am to break the silence with something I am really proud of, and hope you love it too.

"Cell Structure" - crochet cotton and resin - 250 x 600mm
I wanted to do something with resin for this project. And I was inspired by microscopic photos of cell structures. This took a little experimenting. My first attempt I didn't like, and put down somewhere. A few weeks later I rediscovered it and decided it did have potential. This is the end result.


"Colony in Red" - mixed yarns, crochet, on plywood - 340 x 1000mm
You may remember "red barnacles" which was done in a reclaimed frame. I received many comments about the frame. So this time I decided to try them in an organic shape. I was inspired here by barnacle shells crammed into a crack at sea side rock pools.

I have entered both of these into the NSW arts and crafts society's 2014 Emerging Artist - Craft Award (find here). Good luck to anyone else that enters!

Wednesday, October 30, 2013

Kids Drawing on a Cushion

About 2 months ago a facebook friend (old high school friend) changed his profile picture to a drawing of himself, done by his young daughter. I loved the drawing. Having young kids, I also love the evolution in kid drawings - a person is just a big head to start with. Thought it was awesome. So I had to do this...


I've stitched the picture, just with ordinary sewing thread onto some fabric and made that a cushion cover. A nice big cushion cover - 20" x 20" (50cm x 50cm). Maybe I should have ironed it a little better before taking a photo... I'm not a fan of the iron though, so this will do!

Hope my friend and his family love it too!

Saturday, June 29, 2013

More Crocheted Pot Holders

I've been a bit flu-y, so while resting on the lounge I've crocheted a few more pot holders:
1.2.


3.4.


5.


  1. This is just single crochet, but using 3 strands (blue, green, grey). Really liked how this looked (http://chucksforchancho.com/2012/09/01/chunky-crochet-baby-blanket-tutorial/), so basically got the idea from her.
  2. Just crocheted some strips. Each strip was 2 rows of Trebles/Double (depending where you're from). Then crochet a scallop edge the join them all together.
  3. I thought this stitch was called 'jumping stripes', but now I can't find it!
  4. This stitch (http://www.examiner.com/article/done-a-jiffy-baby-blanket-to-crochet) I really loved the subtle pattern. Just as easy, and probably just a little quicker that #1 above. Again used three strands and a larger hook.
  5. The crochet lattice stitch I found here: http://www.ehow.com/how_4623513_crochet-honeycomb-lattice-stitch-pattern.html
Pot holders are a great way of testing a pattern. It doesn't take long to work up, you get to see enough of the pattern to know if you like it for a bigger project. And if your test piece it a bit too thin, you can always do a second (try another stitch of course) and stitch them together for a nice thick pot holder or pot stand.

Monday, June 24, 2013

Crochet pot holder pattern review

I have been trying out some crochet pot holder and/or pot stand patterns (as well as making up my own of course!

1. 2.
 
3. 4.

5.

The patterns I used are as follows:

  1.  http://olavas.blogspot.com.au/2009/08/oppskrift-pa-fargesterk-grytelapp.html This pattern in is German (I think). You could use a translator - look in the comments, there are a few links to translators there. But I found the photos were enough for me. This pattern sat pretty flat, but I did press it to make it look better. This is only a single layer (as opposed to #3 below) but you could easily double it up if you wanted to.
  2. http://attic24.typepad.com/weblog/blooming-flower-cushion.html I know this says it's a cushion, but if you only do to the size you want, why not make it a pot holder? The pattern is very easy to follow, she has great photos, and because you crochet each round of petals as you go, you can make it as big or small as you want. Furthermore, the pattern works really well (for me anyway). The circle sat beautifully flat.
  3. http://www.ravelry.com/patterns/library/flower-potholders I think there are quite a few of these type of pot holder patterns around. I'm pretty sure this is the one I used for this. (NB. you need to be a member of ravelry to see this, but it's free, and there are heaps of free patterns too.) This didn't see too flat - I think I will try it again, but with a bigger hook, that might fix the problem. This is doubled, so it is nice and thick. It was a little tricky doing the finishing of the petals down the center, but the gap to do this in is quite small (the gap for #1 is much bigger, and therefore easier).
  4. http://www.ravelry.com/projects/KnitterlyThings/the-wool-eater-blanket Another one from ravelry. But you can also get it from the creators website here: http://sarahlondon.wordpress.com/2009/08/25/wool-eater-instructions/ Great instructions and photos. She shows you the first 2 rows, you can add as many as you want! Sarah suggests it may be more decorative than functional because of it isn't really thick. But I made this one first, and have been using it for a day or two and it's not too bad. I might make another one using two or 3 strands, and a bigger hook - that might thicken it up.
  5. This is just based on my rainbow beanie. I had my basket with all my yarns in there ready to go, so I gave it a go. Love how it turned out. The 'puffs' add a good thickness. Anyone what me to try and write out the pattern?
So thanks for having a look, and thanks to those people took the time to take the photos, and write the instructions, and publish on their blogs!

I'm sure there will be more of these to come! I hope to cover a section of wall in the ICAN@7 gallery with pot holders soon.


Sunday, June 23, 2013

One Pot Mince & Pasta Bake

This is how easy it is to cook with Chef's Toolbox equipment. Here is a mince and pasta bake that I did the other night, step by step:

Prepare the Vegies you and and Chop (for disguising purposes, I chopped mine finely):

Brown the mince:
 Then add the vegies and cook for a bit:
Next add some tomatoes and any other flavouring you like, let this cook (simmer) for maybe 20mins:
 Add some cooked pasta, and stir it in:
 Sprinkle with cheese, and put straight in the oven:
 And here's your wonderful meal!

Best thing is that you have only used one pot for the pasta, and the saute pan. Clean up is a cinch with the non-stick surface (guaranteed for 10yrs too!). Usually for this type of meal you would be using the pot for the pasta, a frying pan for the mince and sauce, and a casserole dish that takes forever to clean because the cheese has stuck to the side!